
This article has been extracted from “Totally Bonsai A guide to growing, shaping, and caring for miniature trees and shrubs” by “Craig Coussins”. Re potting of bonsai happens when the roots circle around the root system, when the roots are still contained in soil wait another year before checking again. “Tree Removal Hayward CA” provides you relevant details on this.
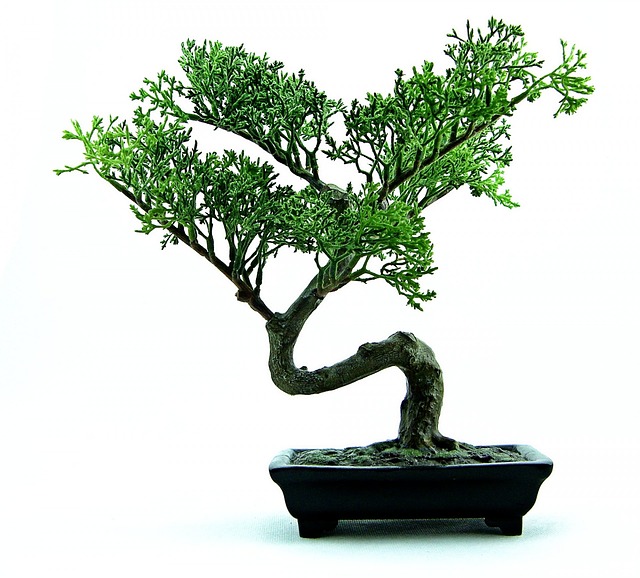
Your tree will fill the pot with roots and use up all the soil. Therefore, every two to four years you need to remove some of the roots and repot the tree so that it gets fresh soil. Young trees need re potting every two years while old, mature bonsai may not need re potting for four years, because they are established and slower- growing.
1. This zelkova has been in its pot for four years, a year longer than it needed. The tree is suffering as its roots push it out of the pot. The edges of the roots are cut from inside to loosen the tree.
2. Remove the bonsai retaining wires.
3. Remove the tree.
4. Using a root hook, carefully remove the soil and untangle the roots without damaging the fine roots. Pay attention to the roots through the root mass, as well as checking for any insect attack, such as root aphids.
5. Now remove the soil near the trunk. Be careful during this part so as to avoid damage to the nebari (surface root structure)
6. Remove excess roots, normally about one third, but in this case half. Check for dead or rotten roots and seal and repair these at the same time. Seal all bug roots cuts with Ktyonal or Lac Balsam, otherwise you will get root not.
7. Remove excess roots near the trunk that stop the free development of surrounding roots, which are important for branch development.
8. Carefully clean the main surface roots, the nebari, as these are exposed during this procedure spray and mist the root structure every ten minutes to prevent the root mass drying out.
9. Cut the mesh to cover the holes in the pot to prevent the soil falling through.
10. Make mesh retainers to fix the mesh to the pot. Bend the wires into figure- six shapes.
11. Bend the tail of the figure- six on both sides, over the wire, and insert into the mesh.
12. The mesh sections have been placed on top of each hole and the wire retainer has been pushed through and bent on the underside of the pot. The long wires are retaining wires to secure, the tree into the pot after re potting. This ensures the tree will not move when it is establishing new roots.
Continue reading on Vines for Dramatic Beauty